You can upload your returns on the GST portal right here from TallyPrime, without the need for any manual activity.
Based on your business needs, you have the flexibility to upload one or all of your transactions and summaries for the required return period.
Further, if there are any rejections from the portal, then you can resolve such transactions in an easier and faster manner. There is no need to manually download the rejected transactions from the portal and export them in TallyPrime.
1. Press Alt+G(Go To) > GSTR-1.
Alternately, Gateway of Tally > Display More Reports > GST Reports > GSTR-1
2. In the GSTR-1report, select the return period and GST registration for which you want to upload your vouchers.
In the Ready for Upload section, you can see the transactions that are pending for upload to the GST portal which is 60 as per image below.

[27-New Updates in TallyPrime Release 5]
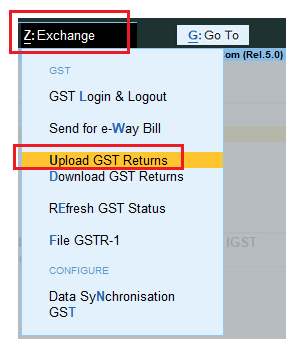
3. Press Alt+Z(Exchange) > Upload GST Returns > GSTR-1.
[28-New Updates in TallyPrime Release 5]
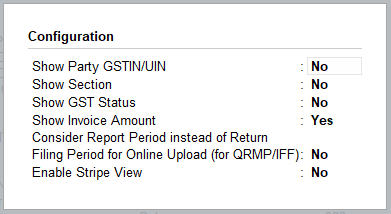
4. In the Upload GST Returnsscreen, press F12 (Configure) to add the required options, such as Party GSTIN/UIN, GST Status, and the Sections as per the GST portal.
[29-New Updates in TallyPrime Release 5]
Tip: The GST Status column will help you view the status of the transaction, such as Uploaded, Mismatched and Rejected by GST Portal.
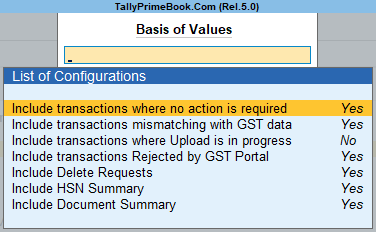
5. Press Ctrl+B (Basis of Values) to configure further options, as per your business needs.
[30-New Updates in TallyPrime Release 5]
-
- Include transactions mismatching with GST data: This option will help you re-upload the mismatched transactions after making the necessary updates in your books.
- Include transactions where Upload is in progress: This option will help you re-upload the transactions for which upload is already in progress.
- Include transactions Rejected by GST Portal: This option will help you re-upload the rejected transactions after making the necessary updates in your books.
- Include Delete Requests: This option will help you delete those transactions from the portal that are already deleted from your books.
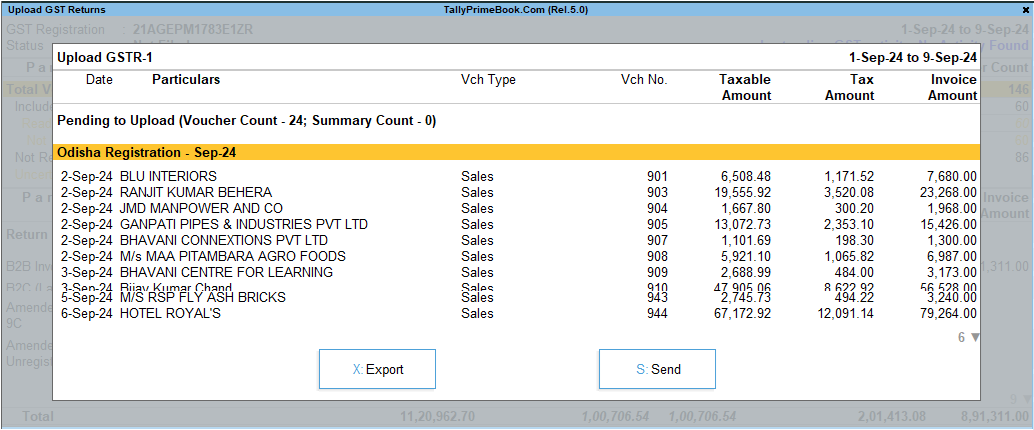
6. Press Spacebar to select the vouchers you want to upload.
If you want to upload all the vouchers, then you do not have to select any of the vouchers.
[31-New Updates in TallyPrime Release 5]
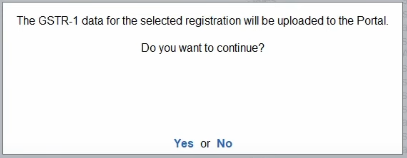
7. Press S (Send) to upload. You will get a message as below :
[32-New Updates in TallyPrime Release 5]
8. Log in to your GST profile, if you have not already done so.
a. Enter your GST Username.

[33-New Updates in TallyPrime Release 5]
b. Enter the OTP received on your registered mobile number, after which your vouchers will be exported to the GST portal.

[34-New Updates in TallyPrime Release 5]
Once you have logged in, the session will be valid for six hours, which will ensure the safety and security of your activities.
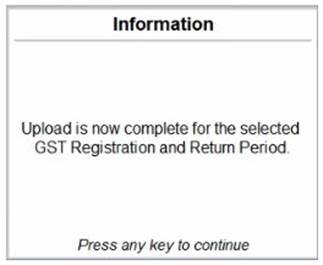
You will receive the confirmation once the upload is complete.
[35-New Updates in TallyPrime Release 5]
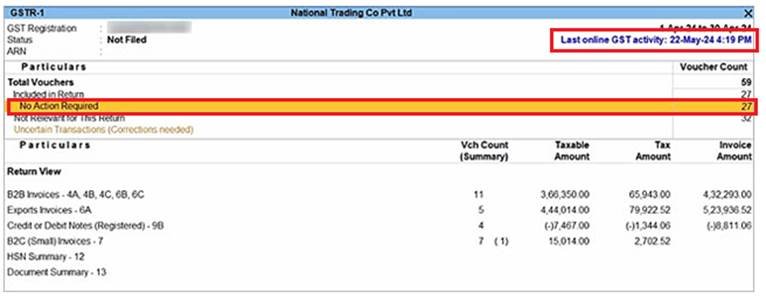
The uploaded vouchers will now be moved to the No Action Required section.
[36-New Updates in TallyPrime Release 5]
Based on your recent activities, you can always see your last online GST activity in the top right corner of the report.
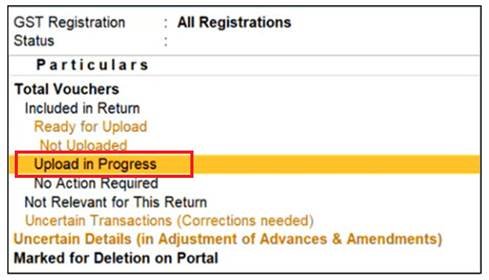
1. Upload in Progress
Sometimes, some of your vouchers might not get instantly uploaded on the GST portal. This can happen due to server-related issues or higher traffic on the GST portal. These transactions will be saved in the Upload in Progress section in GSTR-1.
The Bell Icon notification will help you in quickly identifying the in-progress activities.
[37-New Updates in TallyPrime Release 5]
In such cases, you can easily refresh the GST status of the vouchers after some time.
You will gain a clear picture of the status of your activities.
2. Refresh GST Status of Vouchers
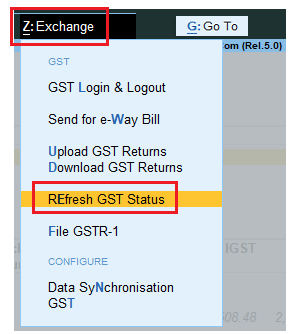
1. Press Alt+Z (Exchange) > Refresh GST Status.
[38-New Updates in TallyPrime Release 5]
Alternatively, click the notification icon (Alt+Ctrl+N) and drill down from the required activity.
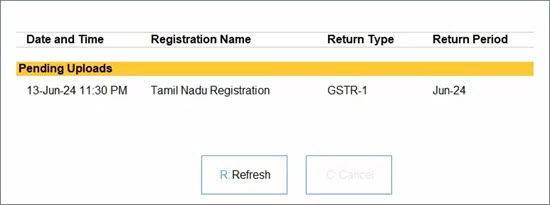
You can see the uploads and downloads that are in progress.
[39-New Updates in TallyPrime Release 5]
2. Press R (Refresh) to refresh the GST Status.
Once refresh is initiated, you can easily track the progress.
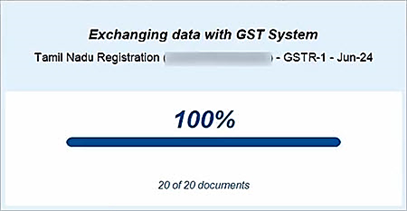
[40-New Updates in TallyPrime Release 5]
You will receive a confirmation once the vouchers are uploaded or downloaded on the GST portal.
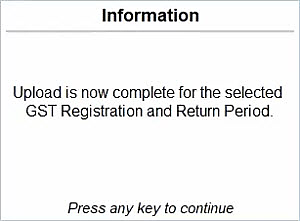
[41-New Updates in TallyPrime Release 5]
3. Resolve Vouchers Rejected by GST Portal
Sometimes, some of your vouchers might get rejected by the GST portal, if any of the information happens to be incomplete or incorrect. For example, the GSTIN of a party might be inactive, invalid or suspended, or the HSN or tax rate might be incorrect.
However, with the Connected GST experience, you can easily identify such issues and resolve them in a seamless manner.
1. Press Alt+G (Go To) > GSTR-1.
Alternately, Gateway of Tally > Display More Reports > GST Reports > GSTR-1
2. Drill down from Rejected by GST Portal.

[42-New Updates in TallyPrime Release 5]
You can view the vouchers and summaries rejected by the portal, along with the Reason for Rejection.

[43-New Updates in TallyPrime Release 5]
Let us take an example where the GSTIN of the party is inactive.
3. Open the Voucher.
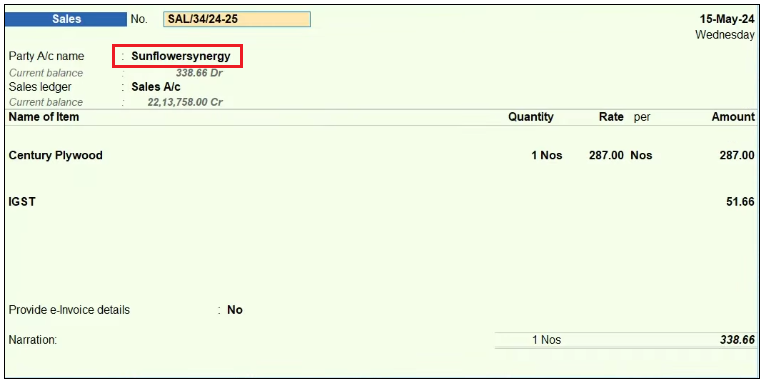
[44-New Updates in TallyPrime Release 5]
| Note :
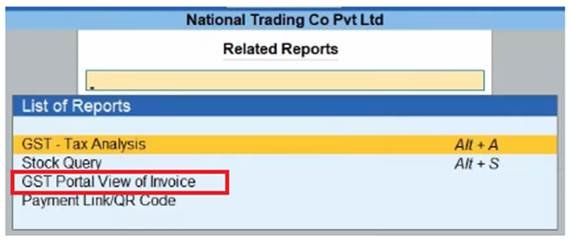
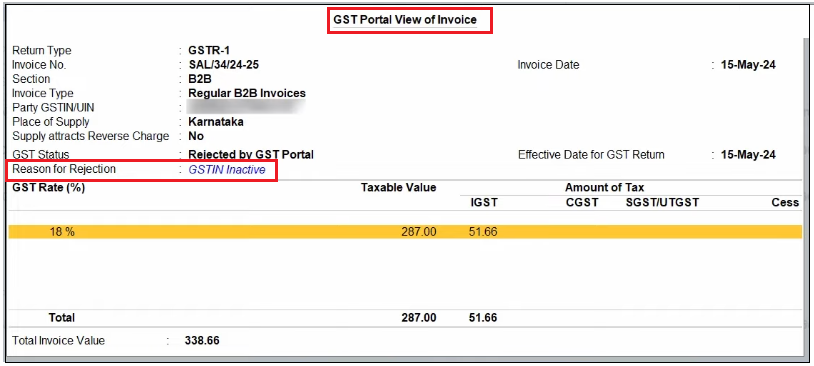
To view the GST Portal View of the invoice, press Ctrl+O (Portal View) and Select GST Portal View of Invoice.
[45-New Updates in TallyPrime Release 5] You will get a clearer view of the invoice details recorded on the portal, along with the Reason for Rejection.
[46-New Updates in TallyPrime Release 5] Press Esc , to get back to the Voucher. |
4. In Party A/c name, press Ctrl+Enter to open and update the party ledger.
a. Set the Registration type to Unregistered/Consumer, if this is a B2C transaction.
On the other hand, if this is a B2B transaction, then you can update the correct GSTIN/UIN.
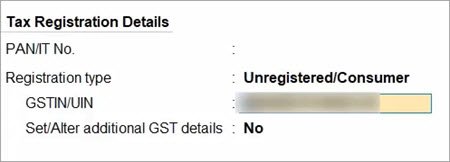
[47-New Updates in TallyPrime Release 5]
b. Enter the Effective Date.
c. Press Ctrl+A to save the details.
5. In the voucher, under Party Details, select the GST Registration type to Unregistered/Consumer.
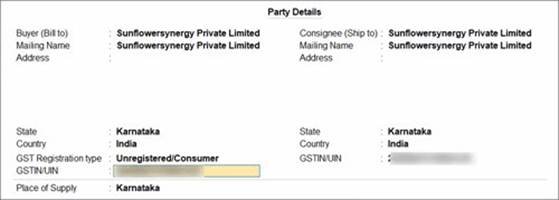
[48-New Updates in TallyPrime Release 5]
6. Press Ctrl+A to save the voucher.
In this way, you can easily resolve any other rejections from the GST portal and upload them again, as per your convenience.

