
If you do not want to generate an e-invoice while recording a transaction, then you can do it later from the Exchange menu in TallyPrime. You can select one or more transactions, as needed, and generate the respective IRN for your e-invoices.
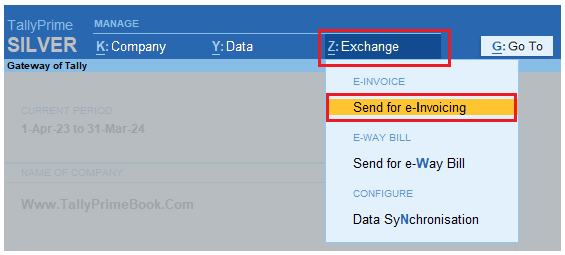
- Press Alt+Z (Exchange) > Send for e-Invoicing.
[Fig-21-e-Invoice Process in TallyPrime]
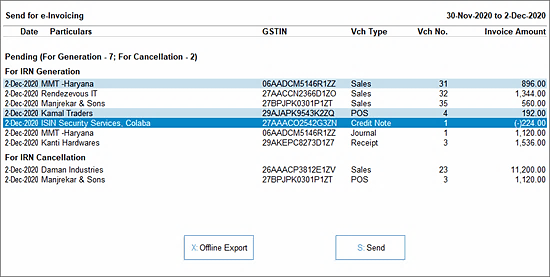
The Send for e-Invoicing screen appears. You can view the transactions that are pending for generation and cancellation.
- Select the required transactions (Multi-selection by pressing Space Bar) and press S (Send) to send the details.
If you press S without selecting any transaction, then all the transactions will be sent for e-invoicing.
[Fig-22-e-Invoice Process in TallyPrime]
The following confirmation screen will appear, displaying the number of transactions lined up for IRN generation and cancellation.

[Fig-23-e-Invoice Process in TallyPrime]
- Press Enter to continue.
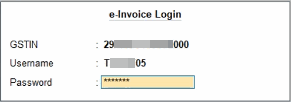
- Specify the e-Invoice Login details and press Enter.
[Fig-24-e-Invoice Process in TallyPrime]
Once the transactions are uploaded to IRP, the IRN details will be updated in the voucher, and the following Exchange Summary will appear:

[Fig-25-e-Invoice Process in TallyPrime]
You will get an idea of how many e-invoices were generated or rejected by the e-Invoice System, or if any transactions could not be uploaded due to any technical difficulties.
| Note :
1. If one or more login credentials are incorrect, then TallyPrime shows an error message from the portal and you will need to log in again with the correct credentials. 2. If there is some network issue, or in other such scenarios, then the screen displays Request not sent (Login cancelled). |