
TallyPrime provides you with an online e-invoicing solution that fits right into your regular invoicing process. e-Invoicing in TallyPrime is not restricted to only a particular voucher type. Apart from regular sales invoice, TallyPrime supports e-invoicing for POS, debit notes, and credit notes. What’s more, even receipts and journal vouchers are supported for e-invoicing when they are used for sales.
Generating e-invoice with TallyPrime is extremely simple. With a one-time setup you can start generating and printing e-invoices within seconds.
Before you start recording your voucher for e-invoicing, ensure the following:
On the e-Invoice System:
- Register your business on IRP.
- Create an API user by selecting Tally (India) Pvt Ltd as the GSP. You have to enter this API user credentials in TallyPrime, whenever prompted.
In TallyPrime:
- Enable e-Invoicing.
- Enter the correct HSN/SAC, tax rates, and Type of Supply details in the ledgers and stock items.
- Enter the correct address, pincode, and GSTIN/UIN in the party masters.
You can easily generate an IRN while saving your invoice and also print the QR code and other details.
While recording a GST Sales transaction,
- Specify the required voucher details, such as the Party A/c name, Sales ledger, Name of Item, GST ledger, and so on.
- Ensure that your invoice numbers do not start with zero (0) or special characters such as forward slash (/) or hyphen (-). Invoice numbers starting with zero or the above special characters are rejected by IRP.
1. Mandatory Details for Generating e-Way Bill with e-Invoice
First, enable e-invoicing applicable to ‘Yes’. Make E-way bill also to ‘Yes’, if applicable
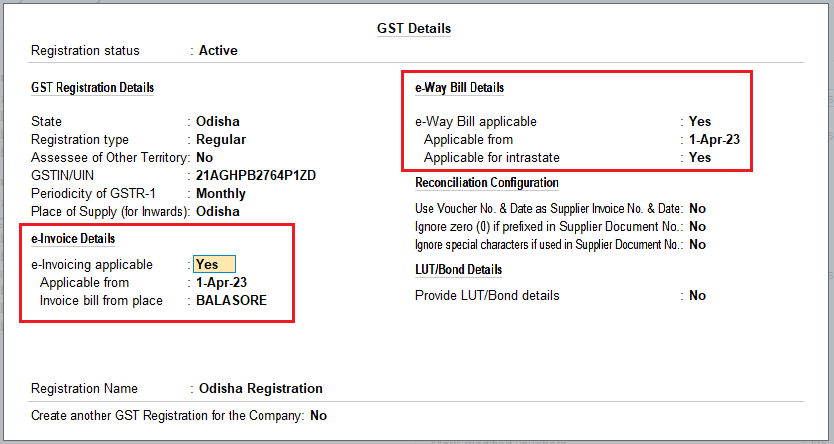
[Fig-12-e-Invoice Process in TallyPrime]
If you had chosen to generate an e-Way Bill along with your e-invoice, you will need to ensure that details, such as transporter information and accurate distance between pincodes, are correctly entered while recording the sales transaction.
Ensure that you specify these details in the Transporter Details section of the Statutory Details screen, while recording the invoice.
- Distance (in KM):
Check the distance between the pincodes entered for Dispatch From and Ship To, and specify the Distance (in KM) accordingly.
If you are using TallyPrime Release 3.0 or later releases, then press Alt+L (Calculate Distance on Portal) and TallyPrime and you will be redirected to the link on the portal on which you can calculate the distance by providing the pin of both the places.
- Vehicle Number and Vehicle Type:
If the Mode of transport is Road, then Vehicle Number, Vehicle Type, and Date are mandatory for e-invoicing.
- Doc/Lading/RR/AirWay No.:
If the Mode of transport is Other than Road (Ship/Air/Rail), then Doc/Lading/RR/AirWay No. and Date are mandatory for e-invoicing.
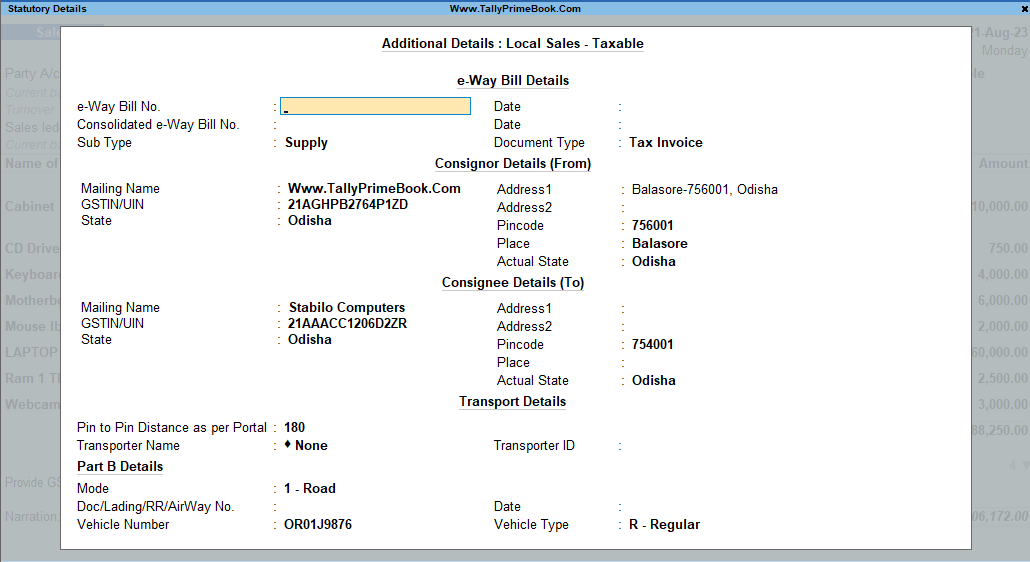
[Fig-13-e-Invoice Process in TallyPrime]
2. Generate IRN and Print QR Code on the e-invoice
The Invoice Reference Number (IRN) is a unique number (also known as hash) generated by the Invoice Registration Portal (IRP) using a hash generation algorithm, under the e-invoicing system. IRN is of 64 Characters length. This IRN is unique number in the GST system. Under the new regulations, mandatory e -invoices must possess an IRN QR code, a 64-digit alpha-numeric number generated by the Indian government’s invoicing system.
Once verified, the IRP digitally signs the invoice. It returns it as an e-invoice, along with the Invoice Reference Number (IRN) and a signed QR code. Taxpayers must include and print the received QR code on the final e-invoice when sharing it with the buyer.
Record a GST Sales transaction as below :,
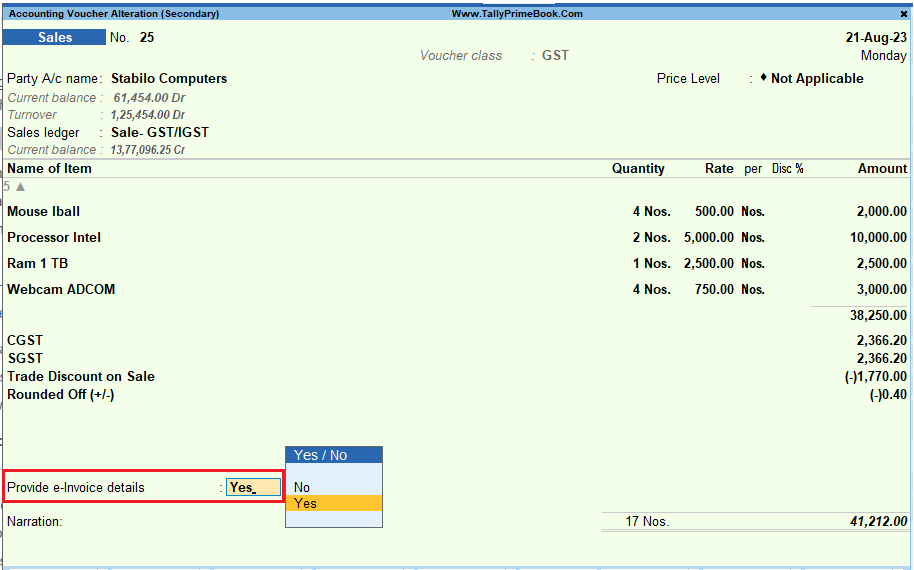
[Fig-14-e-Invoice Process in TallyPrime]
1. Set Provide e-Invoice details to Yes. The e-Invoice Details screen appears.
2. Specify the Bill to place and Ship to place, if this is your first e-invoice for the party. These details will be carried forward in subsequent transactions with the party.
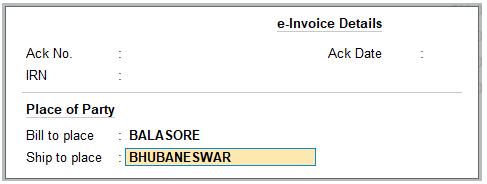
[Fig-15-e-Invoice Process in TallyPrime]
3. Press Ctrl+A to save the details and to return to the voucher.
4. As always, press Ctrl+A to save the voucher.
The following message will appear, prompting you to generate the invoice:

[Fig-16-e-Invoice Process in TallyPrime]
5. Press Enter to continue.
6. Specify the e-Invoice Login details, and press Enter.
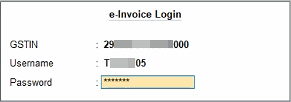
[Fig-17-e-Invoice Process in TallyPrime]
The details of the invoice gets exchanged with the e-Invoice system. On successful upload to IRP, the IRN details will get updated in the voucher, and the following message will appear:

[Fig-18-e-Invoice Process in TallyPrime]
7. Print the invoice.
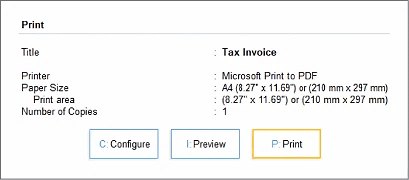
[Fig-19-e-Invoice Process in TallyPrime]
8. The e-invoice with the IRN and QR code will appear as shown below:
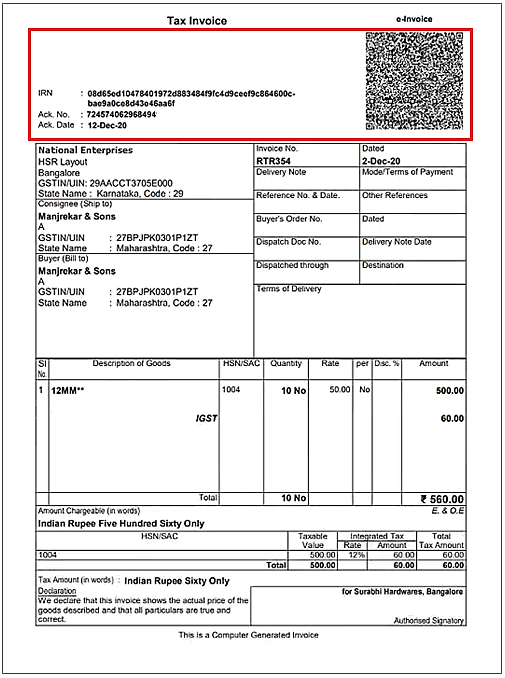
[Fig-20-e-Invoice Process in TallyPrime]